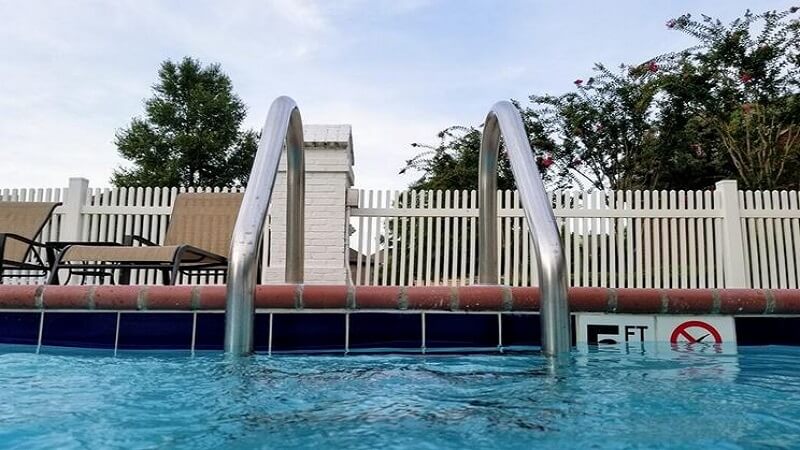
Turn your backyard into a summer paradise with a DIY pool fence. Not only will it keep your family safe, but it can also add a stylish touch to your outdoor space. Installing a pool fence yourself might seem hard at first, but don’t worry-we’ve got expert tips to help you through the process.
This guide will make your project a success. You can save money and avoid hiring expensive contractors. With our tips, you’ll be able to install a professional-looking pool fence on your own.
Let’s get started and make your pool area the best in the neighborhood!
1. Understand Local Regulations
It’s essential to familiarize yourself with the local building codes and regulations regarding pool fencing. These rules can vary significantly from one area to another, often specifying height requirements, type of materials, and gate functionality.
Failure to comply with these regulations can result in fines or having to redo your work. Check with your local authorities or the homeowners’ association to ensure your home installation meets all necessary criteria.
2. Choose the Right Materials
Options such as aluminum, vinyl, and glass are popular for their longevity and aesthetic appeal. Aluminum is lightweight and resistant to rust, while vinyl offers a variety of colors and styles, requiring minimal upkeep.
Glass provides a modern look but can be more expensive. Assess your budget and maintenance preferences before making a decision.
3. Plan Your Design
Consider factors such as the pool’s position, the layout of your yard, and accessibility. Make sure to plan for sufficient spacing between vertical slats or panels to prevent small children or pets from slipping through.
Additionally, decide whether you want a self-closing gate for added safety. A well-thought-out design will streamline the installation process and enhance the safety features of your fence.
4. Gather Essential Tools and Supplies
Before diving into your fence installation, gather all necessary tools and supplies. Commonly needed items include:
- Measuring tape
- Post hole digger
- Level
- Power drill and drill bits
- Screwdriver
- Fasteners and reinforcement brackets
- Concrete mix (if installing posts)
Having these tools ready will minimize interruptions and ensure a smooth installation process. For professional-grade materials and additional insights, you may visit https://myfenceco.com to explore their extensive range of products to further assist you in your DIY project.
5. Install the Posts Correctly
Begin by marking the locations for your posts based on your design. Dig holes deep enough to secure the posts (usually at least one-third of the post length) and ensure they are level and straight.
Consider using concrete to set the posts for added stability. Allow the concrete to cure fully before attaching the fence panels or slats, ensuring your fence withstands the test of time.
6. Finish with Aesthetics and Safety
Consider painting or staining wood fence materials to match your home’s exterior or the surrounding landscape. For added safety, check that all gates close securely and latch properly.
Periodically inspect your fence for any loose panels or weathering to maintain its integrity. Maintaining both the aesthetics and safety of your fence ensures it serves its purpose effectively.
Get Expert Tips and Tricks for a DIY Pool Fence Installation
Homeowners can save money and ensure the safety of their loved ones by installing a DIY pool fence. By following these tips and tricks, the process can be made smoother and less daunting. So don’t wait any longer, take the first step towards a safer pool and try installing your own fence today!
Looking for more tips and advice? You’re in the right place! Make sure to bookmark our page and come back to check out more articles.
