Understanding your security system is a crucial aspect of maintaining the safety and security of your property. Despite the advanced technology of modern security cameras, connectivity issues can still arise, presenting a common hurdle for homeowners. When your security camera loses its connection, it can no longer record or stream video, potentially compromising your home’s security. However, with the right information and guidance, you can troubleshoot and resolve these connectivity issues effectively. This article will provide you with practical steps and tips to restore your camera’s connectivity and ensure your security system operates smoothly.
Diagnosing the Problem: Identifying Connectivity Symptoms
The first step in troubleshooting your security camera connectivity issues is to accurately diagnose the problem. Common symptoms of connectivity issues include the camera going offline, experiencing a dropped connection, poor video quality, or an inability to connect to the Wi-Fi network. Begin by checking whether your camera is powered on and properly connected to the internet. A simple reboot—turning the camera off and then on again—can sometimes resolve connectivity problems. This basic step often clears up temporary glitches and helps you assess whether the issue is more complex.
Causes of Connectivity Issues: Common Factors
Various factors can contribute to security camera connectivity problems. One frequent cause is a weak Wi-Fi signal, which may occur if the camera is located too far from the router. Interference from other electronic devices, such as cordless phones, microwaves, or even neighboring Wi-Fi networks, can also disrupt the camera’s connection. Additionally, outdated firmware or software can lead to compatibility issues and connectivity problems. It’s essential to keep your camera’s firmware updated to the latest version to avoid such issues. Lastly, incorrect settings in the camera’s setup menu can also contribute to connectivity issues. Verifying and adjusting these settings can help rectify the problem.
Steps to Resolve Connectivity Problems: Effective Solutions
To effectively address and resolve security camera connectivity issues, follow these comprehensive steps:
1. Reposition the Camera

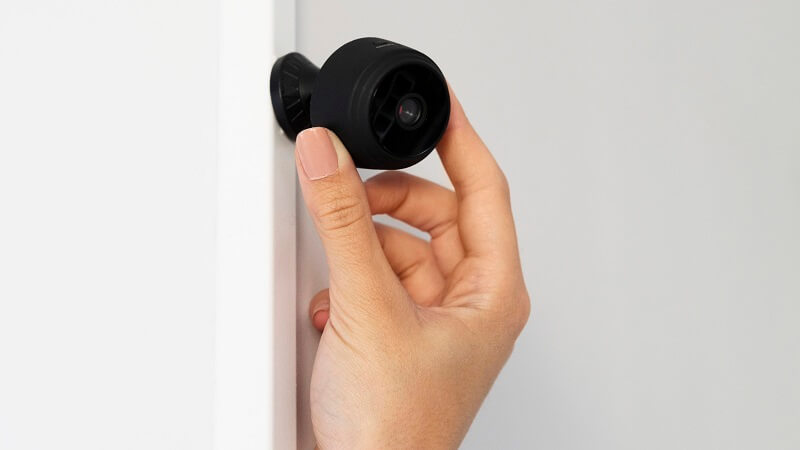
Start by moving your camera closer to your router to strengthen the Wi-Fi signal. A stronger signal can often resolve connectivity issues. Ideally, place the camera within the router’s range or in a location where the signal strength is optimal.
2. Install a Wi-Fi Extender
If relocating the camera is impractical, consider installing a Wi-Fi extender or repeater. These devices amplify the signal and extend the range of your home network, providing a more stable connection for your security camera, especially if it’s situated far from the router.
3. Minimize Signal Interference
Ensure that your camera is not placed near electronic devices that may cause signal interference. Devices such as cordless phones, microwaves, and other wireless gadgets are frequent sources of interference. If relocating the camera isn’t possible, try to minimize the interference by moving these devices away or by adjusting their frequencies.
4. Change Wi-Fi Channels
If signal interference persists, access your router’s settings and switch to a less crowded Wi-Fi channel. Routers typically offer multiple channels to choose from, and changing to a less congested one can reduce interference from other networks or devices.
5. Update Firmware Regularly

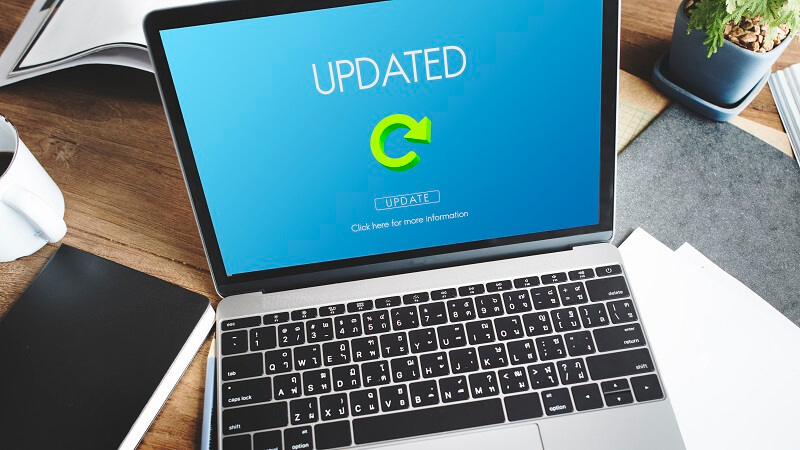
Keep your camera’s firmware up to date by checking for updates on the manufacturer’s website. Firmware updates can fix bugs, improve performance, and resolve connectivity issues. Regular updates ensure your camera operates smoothly and remains compatible with your network.
6. Consult the User Manual
For specific troubleshooting instructions related to your camera model, refer to the user manual. The manual often includes detailed steps for adjusting settings and resolving common issues.
7. Contact Customer Support
If you’ve tried the above steps and still face issues, don’t hesitate to reach out to the manufacturer’s customer support team. They can offer personalized assistance, guide you through advanced troubleshooting, and help resolve any persistent problems.
When All Else Fails: Seeking Professional Assistance
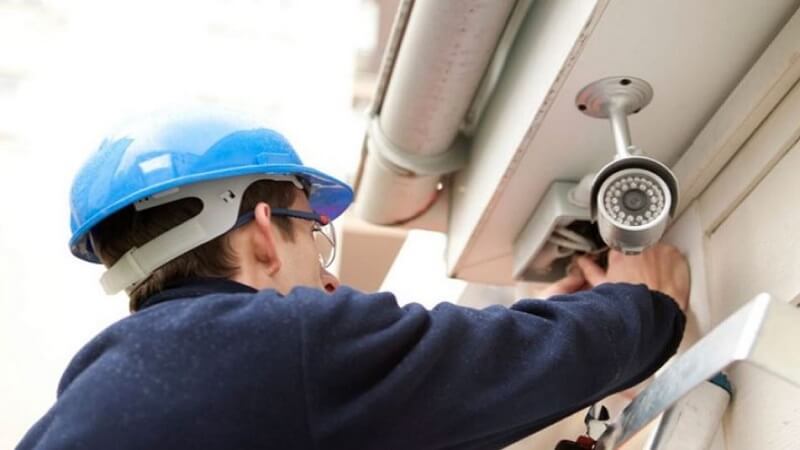
If you’ve tried all the recommended steps and still experience connectivity issues, the camera itself may be faulty. In such cases, it is advisable to reach out to your provider’s customer support or take the camera to a qualified technician for a thorough inspection. A professional technician can perform detailed tests to diagnose and resolve hardware-related problems. Remember, maintaining the functionality of your home security devices is not only about preserving equipment but also about ensuring the safety of your property and everyone inside it.
Final Thoughts
While security camera connectivity issues can pose challenges, they are manageable with the right approach and troubleshooting techniques. By following the guidelines provided in this article, you can effectively address connectivity problems and ensure your security system operates at its best. Regular maintenance, prompt updates, and a proactive approach to troubleshooting will help you maintain a robust and reliable home security system, providing you with the peace of mind you deserve. If needed, don’t hesitate to seek professional help for more complex issues or in-depth assistance.
